🛠️ D1 Mini — ESP8266 WiFi Development Board · Tasmota / ESPHome Ready
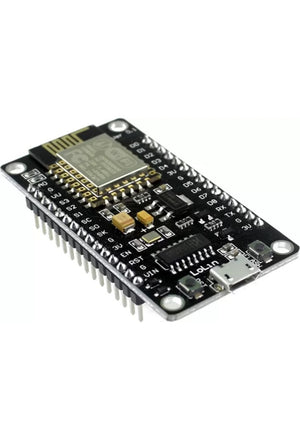
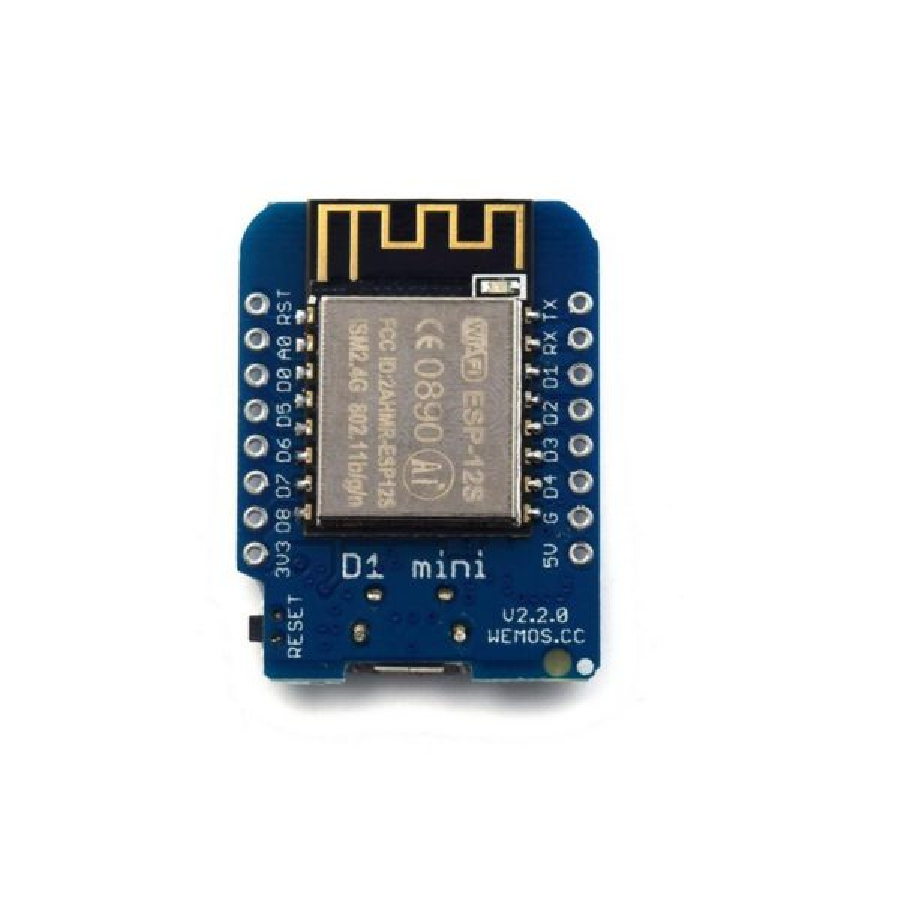
The D1 Mini is a compact ESP8266-based WiFi microcontroller development board — the go-to board for DIY smart home projects, IoT sensors, and custom firmware flashing. Program it in the Arduino IDE, flash it with Tasmota or ESPHome, and integrate it directly with Home Assistant for fully local smart home control over WiFi. Tiny form factor (34 × 26 mm), built-in USB for easy programming, 11 GPIO pins, and a massive community of projects and code. Available in three flash memory variants.
📦 Three Variants Available
D1 Mini (standard) — ESP8266 + CH340G USB, Micro USB
D1 Mini 4M — 4MB flash for larger Tasmota/ESPHome builds
D1 Mini 16M — 16MB flash for maximum firmware + OTA space
⚡ Key Features
- ESP8266 WiFi SoC — 80/160MHz processor with built-in 802.11 b/g/n WiFi (2.4GHz); connects directly to your home WiFi network
- 11 Digital I/O Pins — all pins support interrupt, PWM, I²C, and one-wire (except D0); 1 analogue input (A0, max 3.2V)
- Built-In USB (Micro-B) — CH340G USB-to-UART bridge; program directly from your computer via Arduino IDE, PlatformIO, or ESPHome dashboard — no external programmer needed
- Tasmota / ESPHome / NodeMCU Ready — flash with Tasmota for eWeLink-like control, ESPHome for direct Home Assistant integration, or NodeMCU (Lua) for scripting; OTA (over-the-air) updates supported
- 5V Onboard Regulator — 5V 1A switching power supply onboard; power via USB or 5V pin; the board regulates to 3.3V for the ESP8266
- Breadboard Compatible — compact form factor (34 × 26 mm) fits directly on a breadboard; header pins included (requires soldering)
- Wemos Shield Ecosystem — compatible with a wide range of plug-in shields (relay, OLED display, motor driver, DHT sensor, battery, etc.)
- Arduino IDE Compatible — add the ESP8266 board package via Board Manager; select "LOLIN(WEMOS) D1 mini" and you're programming in minutes
🏠 Smart Home DIY Projects
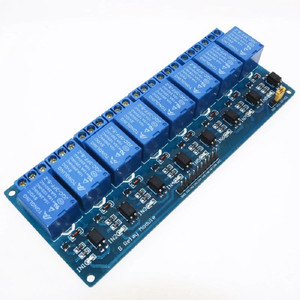
Custom WiFi Relay Switch
Pair with the 8-Channel Relay Module for a DIY 8-zone smart controller. Flash with ESPHome, add to Home Assistant — control lights, pumps, irrigation, and fans from your phone or voice.
WiFi Temperature Sensor
Connect a DHT22 or DS18B20 temperature sensor to a GPIO pin. Flash with ESPHome and the D1 Mini reports temp/humidity to Home Assistant every few seconds. Monitor your server room, greenhouse, or braai area.
Water Level / Tank Monitor
Connect an ultrasonic distance sensor (like HC-SR04 or DYP-A02) and measure water level in your JoJo tank. ESPHome handles the math — Home Assistant displays the percentage and sends alerts when it's low.
Custom Notifications
Use a button or PIR sensor as a trigger → D1 Mini sends an MQTT message or HTTP webhook → Home Assistant sends a notification to your phone. Build a custom doorbell, mailbox alert, or driveway sensor.
The D1 Mini's GPIO pins operate at 3.3V logic. If you're connecting to 5V devices or sensors, use a logic level shifter to avoid damaging the board. The 5V pin on the board is for power only — do NOT connect 5V signals to GPIO pins.
🔀 Variant Comparison
| Feature | D1 Mini | D1 Mini 4M | D1 Mini 16M |
|---|---|---|---|
| Flash Memory | 4MB (standard) | 4MB | 16MB |
| USB Connector | Micro USB | Micro USB | Micro USB |
| ESP Chip | ESP8266 (ESP-12F) | ESP8266 (ESP-12F) | ESP8266 (ESP-12F) |
| WiFi | 802.11 b/g/n 2.4GHz | 802.11 b/g/n 2.4GHz | 802.11 b/g/n 2.4GHz |
| GPIO Pins | 11 digital + 1 analogue | 11 digital + 1 analogue | 11 digital + 1 analogue |
| Best For | Basic projects, Tasmota | Larger ESPHome configs | Maximum OTA headroom |
📋 Technical Specifications
| Microcontroller | ESP8266EX (ESP-12F module) |
| Operating Voltage | 3.3V (onboard 5V → 3.3V regulator) |
| Input Voltage | 5V via USB or 5V pin |
| Digital I/O Pins | 11 (D0–D8, TX, RX) — all support interrupt/PWM/I²C/one-wire (except D0) |
| Analogue Input | 1 (A0, max 3.2V) |
| WiFi | IEEE 802.11 b/g/n 2.4GHz |
| USB Interface | Micro-B (CH340G USB-to-UART) |
| Clock Speed | 80MHz (160MHz boost) |
| Flash Memory | 4MB (standard) / 4MB / 16MB |
| Onboard Power | 5V 1A switching regulator |
| Dimensions | ~34 × 26 mm |
| Weight | ~3 g |
| Compatible Firmware | Arduino, Tasmota, ESPHome, NodeMCU (Lua), MicroPython |
| Supported Platforms | Arduino IDE, PlatformIO, ESPHome Dashboard |
| Home Assistant | Via ESPHome (native) or Tasmota (MQTT) |
| Headers | Included (requires soldering) |
❓ Frequently Asked Questions
Which variant should I get?
Can I flash Tasmota on it?
Can I use it with a relay module?
Does it work with Home Assistant?
• ESPHome (recommended) — native Home Assistant integration; local push updates; configure in YAML; devices auto-discovered
• Tasmota — connects via MQTT; slightly more setup but very flexible; massive template library for pre-configured devices
Do I need to solder the headers?
What USB driver do I need?
🤝 Need Help? We're Here for You!
Visit Us
8 Wildebraam Street
Weltevreden Park, Roodepoort
Gauteng, 1709
Tiny Board. Huge Possibilities.
D1 Mini ESP8266 WiFi Development Board